Let's get into the module "sales" . When the search box appears, click the button "empty" . Then select action from above "Sell" .

The automated workplace of the seller will appear. With it, you can sell goods very quickly.
![]() Please read why you will not be able to read the instructions in parallel and work in the window that appears.
Please read why you will not be able to read the instructions in parallel and work in the window that appears.
In the automated workplace of the seller, the third block from the left edge is the main one. It is he who allows you to work with the goods - and this is the main thing that the seller does.
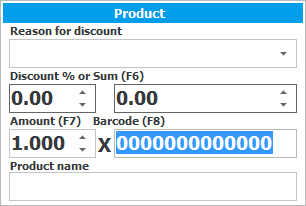
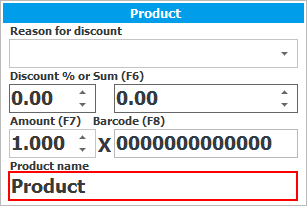
When the window is opened, the focus is on the input field into which the barcode is read. This means that you can immediately use the scanner to make a sale.
![]()
If you buy many copies of the same product, you can either read each copy with a scanner, or enter the total number of identical products on the keyboard, and then read the barcode from any of them once. That will be much faster. For this there is an input field for ' Amount ' to the left of the field for ' Barcode '.
![]()
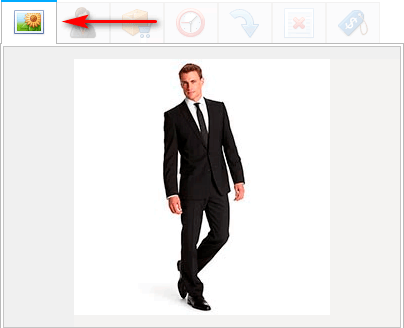
When a product is sold by a barcode scanner, a photo of the product immediately appears on the panel on the left on the ' Image ' tab, if you previously uploaded it to the nomenclature .
![]() Read about screen dividers if the panel on the left is collapsed and you can't see it.
Read about screen dividers if the panel on the left is collapsed and you can't see it.
The image of the product that appears when using a barcode scanner allows the seller to verify that the product that is released to the client matches the one that is entered in the database.
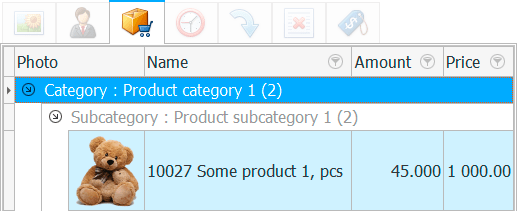
If you have a small assortment of goods or you work in the ' street food ' mode, then you can sell without a barcode scanner, quickly choosing the right product from the list by name and image. To do this, use the panel on the left side of the window by clicking on the ' Product selection ' tab.
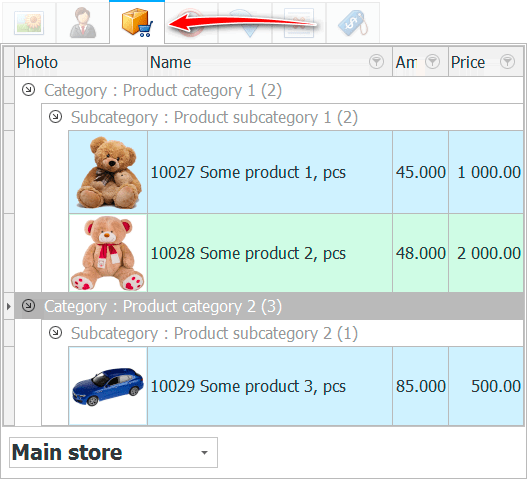
To select the desired product, just double-click on it.
Using the screen divider, you can resize the area on the left.
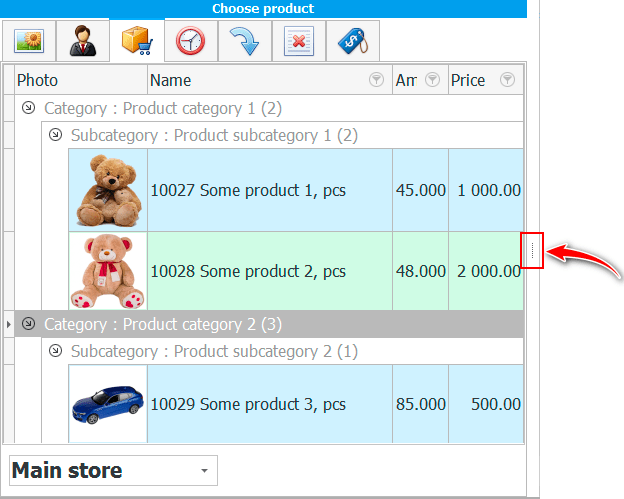
Depending on the width of the left panel, more or less items will be placed in the list. You can also change the width of each column so that any seller can customize the most convenient way to display data.
Under the list of products there is a drop-down list of warehouses. Using it, you can view the availability of goods in different warehouses and stores.
![]()
If you do not have a barcode scanner, and there are a lot of goods, then you can quickly search for a product by name. To do this, in a special input field, write part of the name of the product we need and press the Enter key.
The list will display only those products that match the search criteria.
There are also fields for providing a discount, if sales in your organization provide for them. Since the ' USU ' program automates any trade, it can be used both in stores with fixed prices and on trading floors where it is customary to bargain.

To provide a discount, first select the basis of the discount from the list. Then we indicate the discount either as a percentage or a certain amount by filling in one of the two following fields. And only after that we read the barcode of the product with a scanner. In this case, the price will be taken from the main price list, but already taking into account the discount you specified.
If you do not want sellers or certain employees to provide discounts, then on the order you can limit this at the program level.
![]() Here it is written how to provide a discount on all goods in the check .
Here it is written how to provide a discount on all goods in the check .
![]() You can also print a discount memo , so as not to enter anything, but simply read the barcodes to provide discounts.
You can also print a discount memo , so as not to enter anything, but simply read the barcodes to provide discounts.
![]() It is possible to control all provided one-time discounts using a special report.
It is possible to control all provided one-time discounts using a special report.
When you scanned the barcode with a scanner or double-clicked on an item from the list, the item's name appears as part of the sale.

Even if you have already punched through some product, and it is included in the sale, you still have the opportunity to change its quantity and discount. To do this, simply double-click on the desired line.
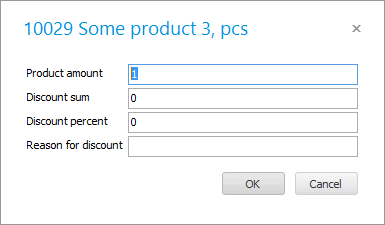
If you specify a discount as a percentage or an amount, be sure to enter the basis for the discount from the keyboard.
Under the composition of the sale there are buttons.
![]()
The ' Sell ' button allows you to complete the sale. Payment is made at the same time without change in the way that is selected by default.
There is an option to ' Postpone ' the sale if the customer has gone to choose another product. At this time, you can still serve other customers.
You can sell on credit with No payment.
As long as there is a product in the sale, the seller window cannot be closed. If you change your mind about making a sale, you can Cancel it.
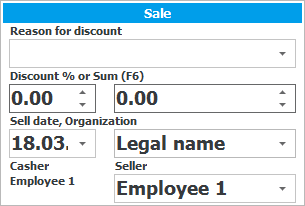
Before reading the barcodes of an item, it is first possible to change the parameters of a new sale.
You can choose another date from which the sale will be held
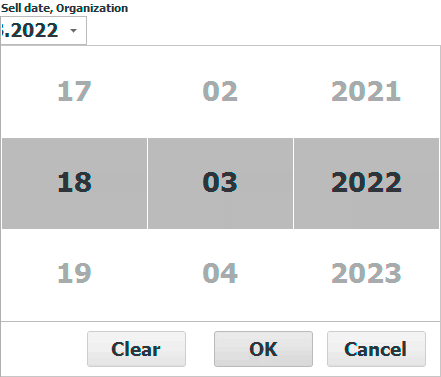
It is possible to issue a sale to the desired legal entity , if you have several of them.
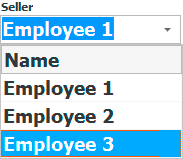
If you have several sales assistants working in your store, the cashier can choose the sales assistant who helped the buyer when registering the sale. In this case, when using piecework wages, the bonus from the created sale will be accrued to the selected employee.
![]() Learn more about piecework wages .
Learn more about piecework wages .
In the same section, you can provide a discount in the form of a percentage or an amount immediately for the entire check .
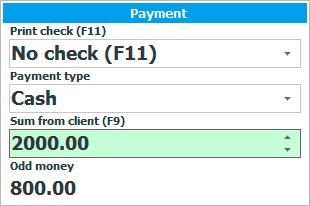
![]() Read how you can choose different payment methods and check options.
Read how you can choose different payment methods and check options.
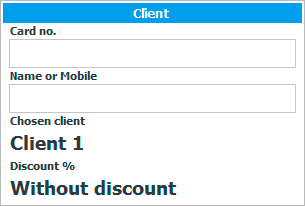
![]() Find out how you can choose a client .
Find out how you can choose a client .
![]() Please also see the returns section.
Please also see the returns section.
![]() Analyze all returns to better identify defective products.
Analyze all returns to better identify defective products.
![]() If the client, already at the checkout, realized that he forgot to choose some other product, you can postpone its sale in order to serve other customers at that time.
If the client, already at the checkout, realized that he forgot to choose some other product, you can postpone its sale in order to serve other customers at that time.
![]() You can flag missing items that customers ask for in order to work on expanding the product range and eliminating lost profits.
You can flag missing items that customers ask for in order to work on expanding the product range and eliminating lost profits.
See below for other helpful topics:
![]()
Universal Accounting System
2010 - 2024