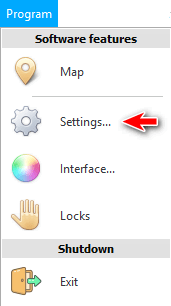
From the top go to the main menu "Program" and choose the item "Settings..." .
![]() Please read why you will not be able to read the instructions in parallel and work in the window that appears.
Please read why you will not be able to read the instructions in parallel and work in the window that appears.
The first tab defines the ' system ' settings of the program.
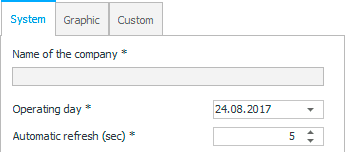
' Name of the company ' under which the current copy of the program is registered.
The ' Operating day ' option, which is not initially enabled, is rarely used if all transactions in the organization must be from the specified date, regardless of the current calendar date.
' Automatic Refresh ' will refresh any table or report when the refresh timer is enabled, every specified number of seconds.
![]() See how the refresh timer is used in the ' Menu above table ' section.
See how the refresh timer is used in the ' Menu above table ' section.
On the second tab, you can upload your organization's logo so that it appears on all internal documents and reports . So that for each form you can immediately see which company it belongs to.
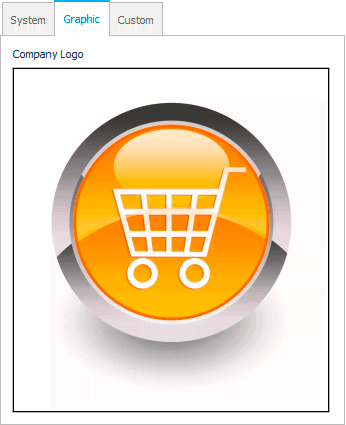
![]() To upload a logo, right-click on the previously uploaded image. And also read here about different methods of loading images .
To upload a logo, right-click on the previously uploaded image. And also read here about different methods of loading images .
The third tab contains the largest number of options, so they are grouped by topic.
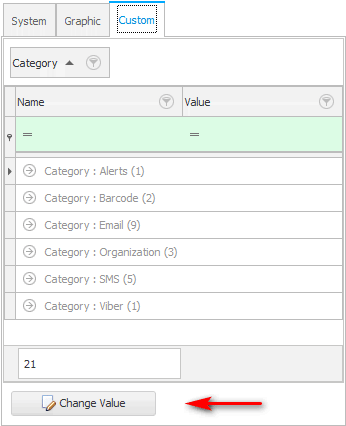
You should already know how ![]() open groups .
open groups .
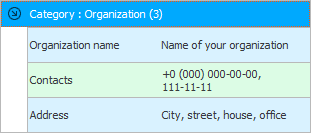
The ' Organization ' group contains settings that can be filled in right away when you start working with the program. This includes the name of your organization, address, and contact details that will appear on each internal letterhead.
The ' Email ' group will contain the mailing list settings. You fill them out if you plan to use send from an email program.
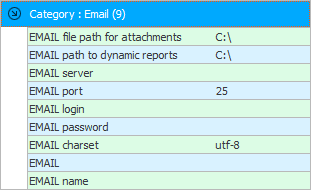
You can set the file path for attachments if you plan not only to send letters, but also to attach some files to them. These files can be attached by the program itself, if automatic sending of documents for clients is ordered.
You can configure the path to dynamic reports if the manager is not constantly near the program and ordered the automatic generation of analytical reports by the program itself, which will be sent to the director by mail at the end of each day.
And then there are the standard data for setting up the mail client, which your system administrator can fill out.
![]() Details about see the mailing here.
Details about see the mailing here.
In the ' SMS ' group there are settings for SMS distribution.
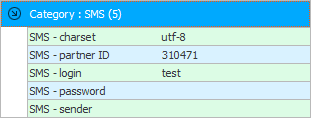
You fill them out if you plan to use sending from the program as SMS messages , as well as two other types of mailing: on Viber and voice calls . All three types of notifications have common settings.
The main parameter is ' partner ID '. For the mailing list to work, you need to specify exactly this value when registering an account for the mailing list.
' Charset ' must be left as ' UTF-8 ' so that messages can be sent in any language.
You will receive a login and password when registering an account for mailing. Here they will then need to be registered.
Sender - this is the name from which SMS will be sent. You can't write any text here. When registering an account, you will also need to apply for the registration of the sender's name, the so-called ' Sender ID '. And, if the name you want is approved, then it will be possible to register it here in the settings.
![]() Details about see the mailing here.
Details about see the mailing here.
There is only one parameter in this group, which allows you to specify the number that will be displayed on your counterparty when the program automatically calls him.

A voice call does not mean that you first need to record your voice. In fact, you simply indicate any message in the form of text, and the program will voice it when you call in such a characteristic computer voice.
![]() Details about see the mailing here.
Details about see the mailing here.
Here you specify the login that will receive pop-up notifications.

![]() About Pop-up notifications are detailed here.
About Pop-up notifications are detailed here.
There are only two settings in this section.

If the parameter ' Set barcode ' is ' 1 ', then a new barcode will be assigned automatically if it was not manually specified by the user when adding an entry to the directory "product lines" .
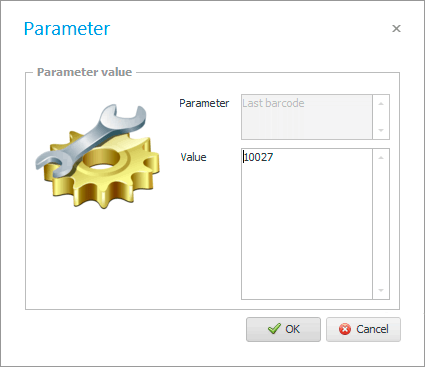
And the second parameter just contains the last barcode that was previously assigned. So the next number will be substituted by one more than this. The minimum length of a barcode must be 5 characters, otherwise it will not be read by scanners. Proprietary barcodes are deliberately made so short that they immediately differ from the factory ones, which are much longer.
To change the value of the desired parameter, simply double-click on it. Or you can highlight the line with the desired parameter and click on the button below ' Change value '.

In the window that appears, enter a new value and press the ' OK ' button to save.
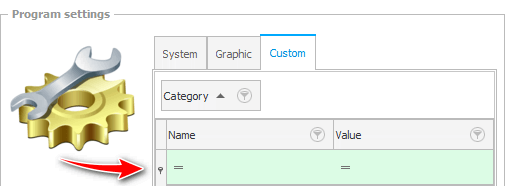
![]() At the top of the program settings window there is an interesting
At the top of the program settings window there is an interesting ![]() filter string . Please see how to use it.
filter string . Please see how to use it.
See below for other helpful topics:
![]()
Universal Accounting System
2010 - 2024