![]() These features are available only in the Standard and Professional program configurations.
These features are available only in the Standard and Professional program configurations.
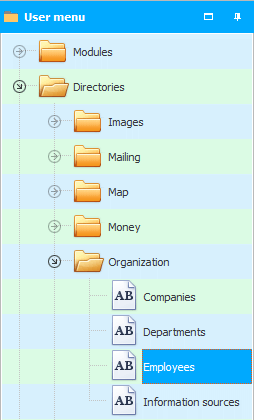
Let's go to the directory for an example "Employees" .
Employees will be grouped "by department" .

To see the list of workers, for example, in the ' Branch 1 ', you need to click once on the arrow to the left of the group name.

If there are many groups, you can call the context menu with the right mouse button and simultaneously expand or collapse all groups using the commands "Expand all" And "Collapse all" .

![]() Learn more about what types of menus are.
Learn more about what types of menus are.
Then we will see the employees themselves.
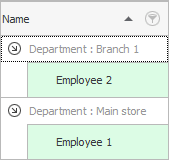
Now you know that in some directories data is displayed in the form of a table, for example, as we saw in "Departments" . And in "others" reference books, data can be presented in the form of a 'tree', where you first need to expand a certain 'branch'.
You can easily switch between these two data display modes. For example, if you don't want the directory "Employees" data was grouped "by department" , it is enough to grab this column, which is pinned to the grouping area, and drag it a little lower, putting it in line with other field headers. You can release the dragged column when the green arrows appear, they will show exactly where the new field will go.
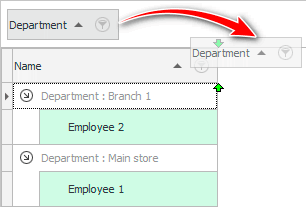
After that, all employees will be displayed in a simple table.
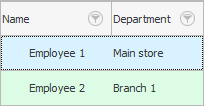
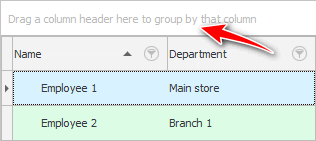
To return to the tree view mode again, you can drag any column back up to a special grouping area, which, in fact, says that you can drag any field onto it.
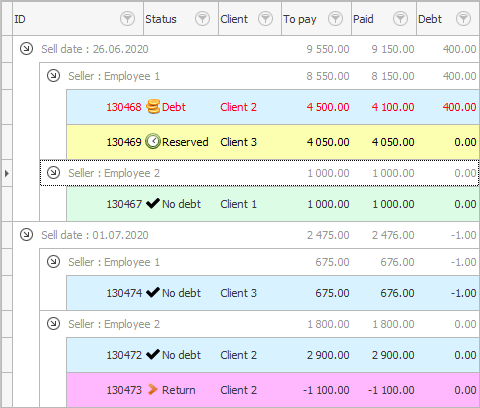
It is noteworthy that the grouping can be multiple. If you go to another table where many fields will be displayed, for example, in "Sales" , then you can first group all sales "by Sell date" , and then also "by seller" . Or vice versa.
See below for other helpful topics:
![]()
Universal Accounting System
2010 - 2024