![]()
![]() These features are only available in the Professional configuration.
These features are only available in the Professional configuration.
![]() First you need to familiarize yourself with the basic principles of assigning access rights .
First you need to familiarize yourself with the basic principles of assigning access rights .
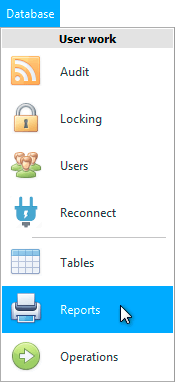
Top of the main menu "Database" select a command "Reports" .
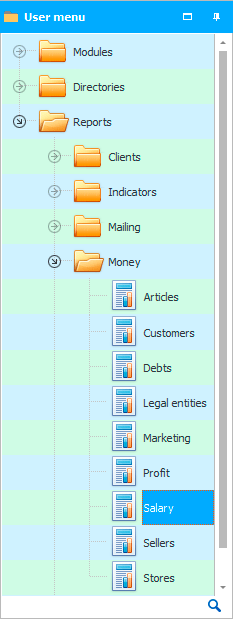
A list of reports will appear, grouped by topic. For example, expand the ' Money ' group to see a list of reports for financial analytics.
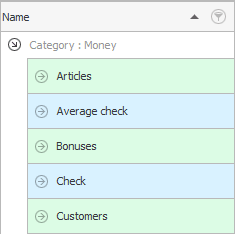
It is reports that are related to money that can usually be confidential for most employees of the organization.
Let's take a piecework payroll report as an example. Expand the ' Salary ' report.
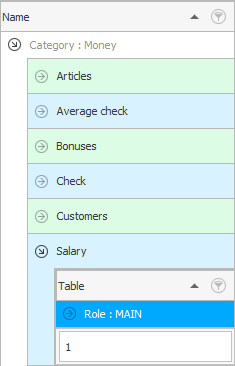
You'll see what roles this report belongs to. Now we see that the report is included only in the main role.
If you also expand the role, you can see the tables in which this report can be generated.
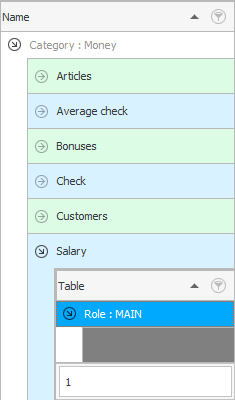
The table name is currently not specified. This means that the ' Salary ' report is not tied to a specific table. It will show up in "custom menu" left.
Now let's expand the ' Check ' report.
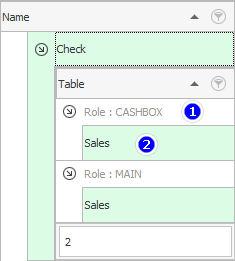
First, we will see that this report is included not only in the main role, but also in the role for the cashier. This is logical, the cashier should be able to print a receipt for the buyer during the sale.
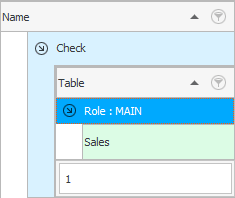
Second, it says that the report is linked to the ' Sales ' table. This means that we will no longer find it in the user menu, but only when we enter the module "Sales" . This is an internal report. It is located inside the opened table.
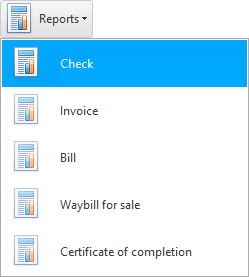
Which is also logical. Since the check is printed for a specific sale. To form it, you will first need to select a specific row in the sales table. Of course, if necessary, print the check again, which is extremely rare. And usually the check is printed out automatically right after the sale in the window of the ' Workstation of the seller '.
For example, we want to take away access from the cashier to the ' Check ' report. To do this, simply remove the role ' KASSA ' from the list of roles in this report.
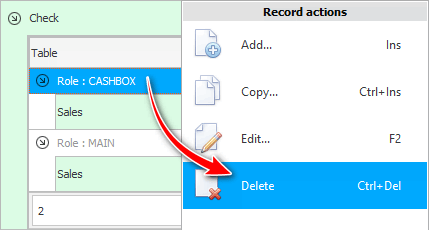
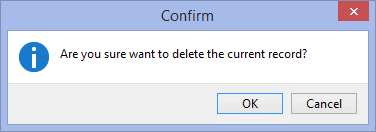
Deletion, as always, will need to be confirmed first.
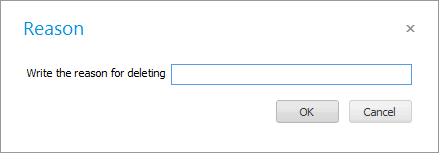
And then specify the reason for the removal.
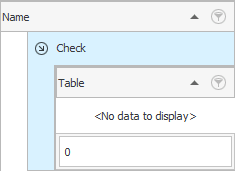
We can take away access to the ' Check ' report from all roles. This is how the expanded report will look like when no one is given access to it.
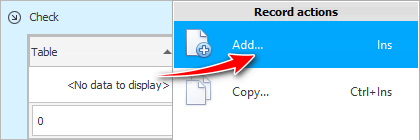
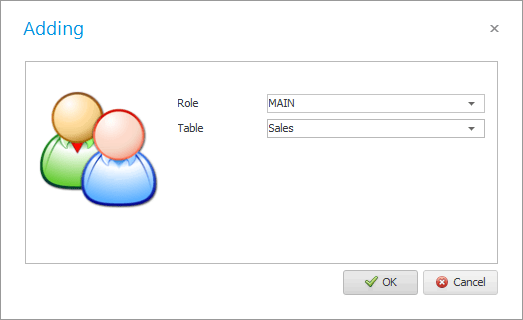
To give access to the ' Check ' report, add a new entry to the expanded inner area of the report.
![]() Please read why you will not be able to read the instructions in parallel and work in the window that appears.
Please read why you will not be able to read the instructions in parallel and work in the window that appears.
In the window that appears, first select the ' Role ' for which you are granting access. And then specify when working with which table this report can be generated.
Done! Access to the report is granted to the main role.
See below for other helpful topics:
![]()
Universal Accounting System
2010 - 2025