
Quick launch button properties are needed to customize the tile menu. Button properties appear in two cases.
You can select several buttons to change certain properties for all of them at the same time. Selected buttons will be marked with checkmarks in the upper right corner.
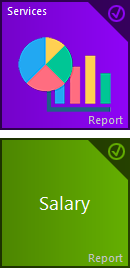
The properties window will display the number of selected buttons.

Note that some properties can only be changed when a single button is selected.
First of all, set the size for each button.
The more important the command, the bigger the button should be.
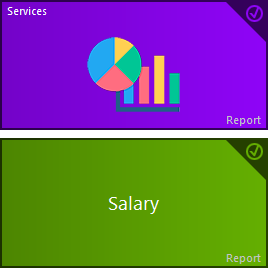
The color of the button can be set as a single color or as a gradient.
If you set two different colors, then you can also specify the direction for the gradient.
To make the purpose of the button clearer, you can add an image to the button. For a small button, the image size must be strictly 96x96 pixels. And for a large button in any graphic editor, a picture should be prepared with a size of 200x200 pixels.

As an image for the button, use transparent PNG files.
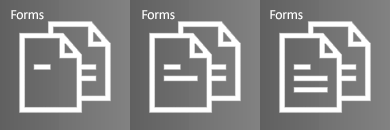
If you upload more than one image for a button, then they will appear sequentially. Thus, the animation will appear.
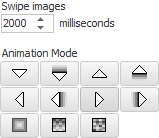
For animation, it will be possible to specify the speed of changing images. And also choose the animation mode. Pictures can fly out from different sides, move out smoothly, appear out of transparency, etc.
If several changing images are only slightly different from each other, then the animation will look more interesting.

If a button is not needed, it can be removed.
If you experimented and didn't get what you wanted, you can easily restore the original settings for the quick launch buttons.

To make the properties disappear, the button must be deselected. To do this, you can double-click the right mouse button on the quick launch button. Or right-click on an empty space - somewhere between the quick launch buttons.
See below for other helpful topics:
![]()
Universal Accounting System
2010 - 2026