![]()
![]() These features are only available in the Professional configuration.
These features are only available in the Professional configuration.
![]() First you need to familiarize yourself with the basic principles of assigning access rights .
First you need to familiarize yourself with the basic principles of assigning access rights .

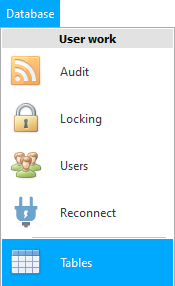
And then you can give access to the tables. Modules and directories in the program are just tables. Top of the main menu "Database" select a team "tables" .

There will be data that will ![]() grouped by role.
grouped by role.

Please note that the same table can belong to several different roles. If you want to change the permissions on a table, carefully look at which role you are making changes for.
New roles are created by the developers of the program to order .
"Reveal" any role and you will see a list of tables.

A disabled table is highlighted in a yellow strikethrough font.
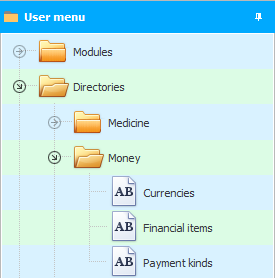
These are the same tables that you open and fill with "user's menu" .


Double click on any table to change its permissions.
![]() Please read why you will not be able to read the instructions in parallel and work in the window that appears.
Please read why you will not be able to read the instructions in parallel and work in the window that appears.

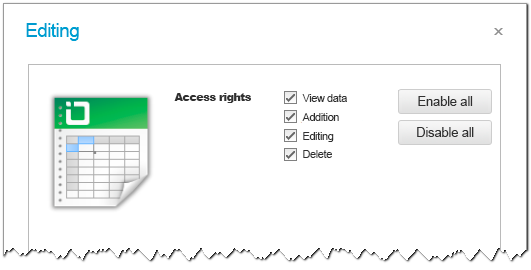
If the ' View data ' checkbox is checked in a specific role for a certain table, then this table will be visible in the user menu. The data in this table can be viewed.
If you disable access to a table for a role, users of that role won't even know that the table exists.
If you disable the ' Add ' checkbox, then you will not be able to add new records to this table.
It is possible to disable and ' Editing '.
If you do not trust employees, then it is first recommended to disable ' delete ' entries.
Even if delete access is left, you can always ![]()
![]() audit to track: what exactly, when and by whom was deleted.
audit to track: what exactly, when and by whom was deleted.
Special buttons in this window allow you to enable or disable all the checkboxes at once with one click.

If you have disabled access to a table, then the user will receive an error message when trying to perform the desired action.


![]() It is possible to configure access even to
It is possible to configure access even to ![]()
![]() individual fields of any table.
individual fields of any table.
See below for other helpful topics:
![]()
Universal Accounting System
2010 - 2025