

To visualize information, a picture in the medical history is used. Images are useful in a variety of ways. Our professional program for medical centers has the ability to store image templates that will be used by doctors to create the required images for the medical history. All graphic templates are stored in the directory "Images" .
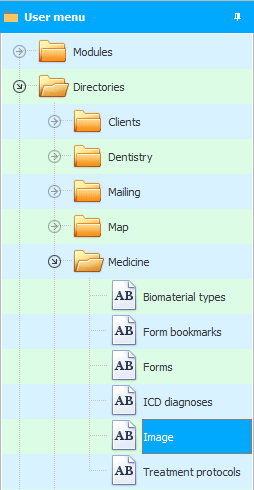
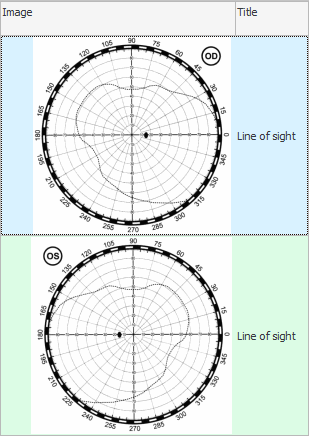
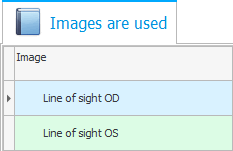
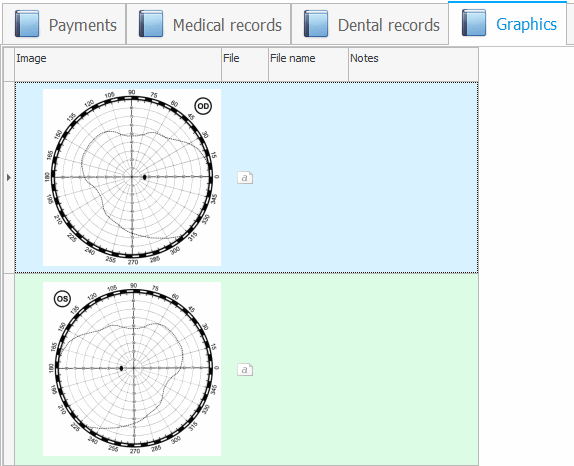
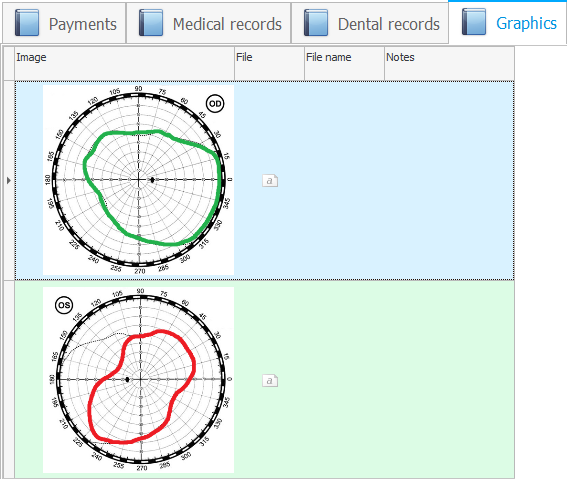
In our example, these are two images for determining the field of view, which are used in ophthalmology. One picture represents the left eye, the other represents the right eye.
![]() See how to upload an image to a database.
See how to upload an image to a database.
"When adding an image" the database contains not only "header" , but also "system name" . You can come up with it yourself and write it in one word without spaces. Letters must be English and uppercase.
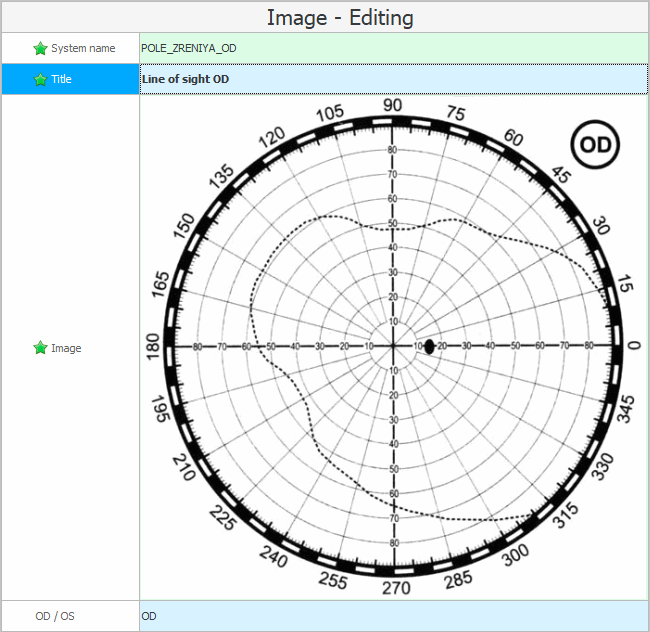
Another "additional field" used only in ophthalmology. It shows which eye the image is for.

After uploading images to the program, you must specify for which services these images are intended. For this we go to service catalog . Select the desired service above. In our case, these images are needed for the service ' Ophthalmological appointment '.
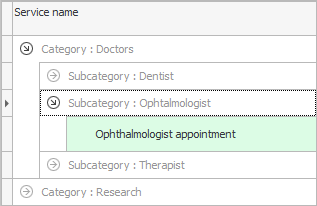
Now take a look at the tab at the bottom "Images used" . Add both of our pictures on it. The selection is made by the name that was previously assigned to the image.

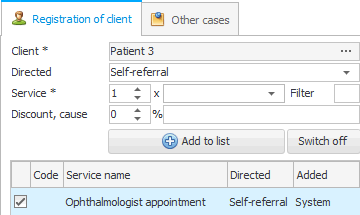
Let's book a patient's appointment with the doctor for this service to make sure that the linked images appear in the medical record.
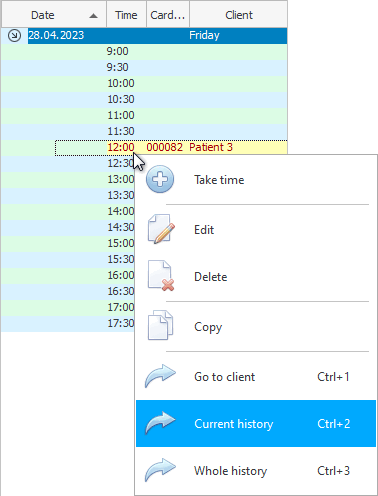
Go to your current medical history.
The selected service will appear at the top of the patient's medical history.

And at the bottom of the tab "Files" you will see the very images that were linked to the service.

To use the following functionality, you will first need to make a small setup of the ' USU ' program. Open the folder where the program is located and double click on the ' params.ini ' file located in the same directory. This is a settings file. Double-clicking it will open it in a text editor.

Find the ' [app] ' section in the square brackets. This section should have a parameter named ' PAINT '. This parameter specifies the path to the ' Microsoft Paint ' program. In the line with this parameter, after the ' = ' sign, the standard path to the given graphical editor will be indicated. Please make sure that there is such a parameter in the settings file on your computer and its value is set correctly.
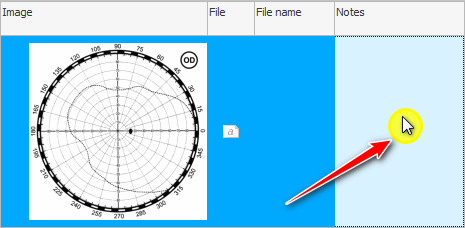
Bottom tab "Files" click on the first image. Just remember that clicking directly on the picture itself allows you to open it in an external viewer for full size . And we just need to choose the graphic material with which we will work. Therefore, click in the area of the adjacent column, for example, where it is indicated "note for picture" .
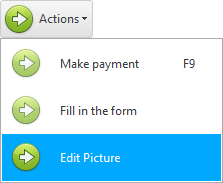
Top click on team "Working with an image" .
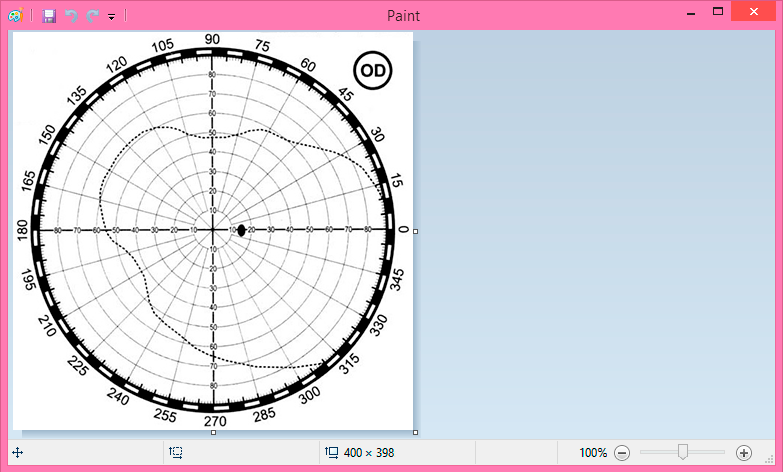
The standard graphics editor ' Microsoft Paint ' will open. The previously selected picture will be available for editing.
Now the doctor can change the image so that it reflects the situation for a particular patient.
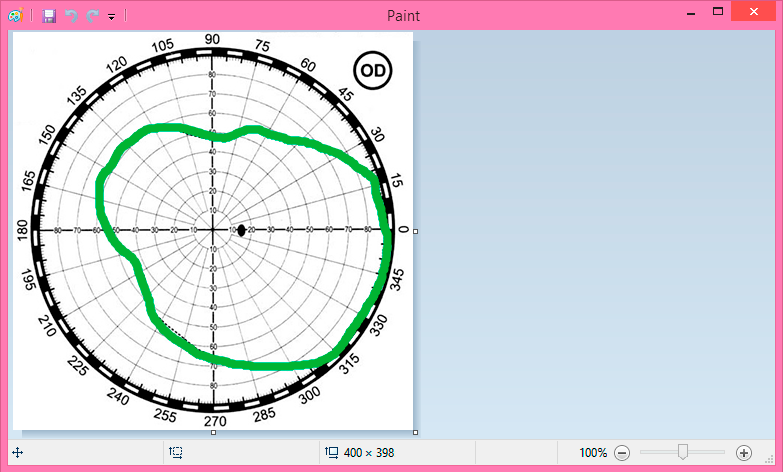
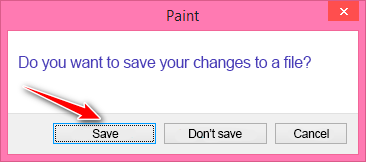
Close ' Microsoft Paint ' after the painting process is complete. At the same time, answer yes to the question ' Do you want to save the changes? '.
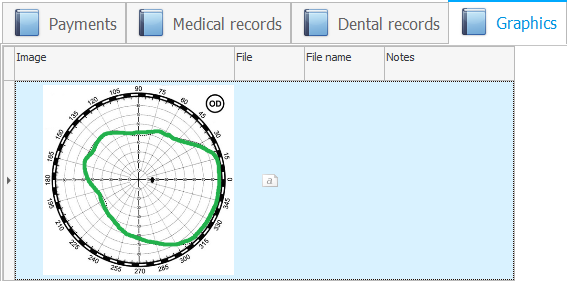
The modified image will immediately appear in the case history.
Now select the second picture and edit it in the same way. It will turn out something like this.
Any image can be used as a template. It can be a whole human body or an image of any organ. This functionality will add visibility to the work of the doctor. The dry medical test in the medical history can now be easily supplemented with graphical information.

![]() It is possible to set up a medical form that will include attached images .
It is possible to set up a medical form that will include attached images .
See below for other helpful topics:
![]()
Universal Accounting System
2010 - 2025