
Templates for doctors are very useful when filling out medical forms. For example, a template for a doctor's examination. Medical certificate template. Template for a general practitioner or any other specialty. The program can help the doctor add some data in the template to the form from pre-prepared templates. Take for example the ' Blood chemistry test ' form. Previously, we already learned that the general information about the patient, doctor and medical institution can be filled in automatically .
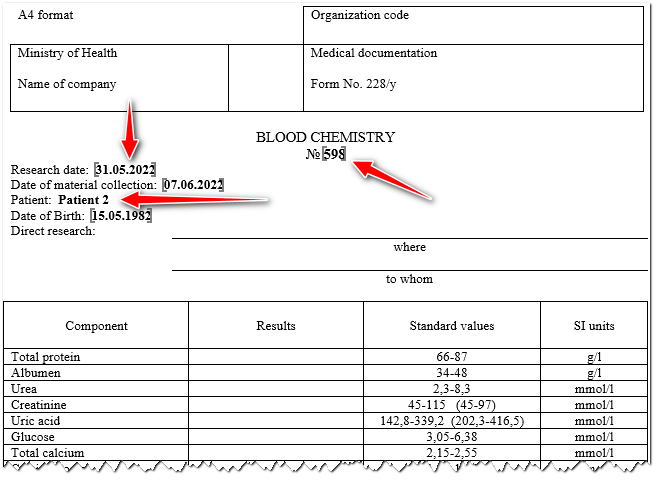
If numerical research results are entered, then there can be an infinite number of options. Therefore, such parameters are filled in by a medical professional without the use of templates.
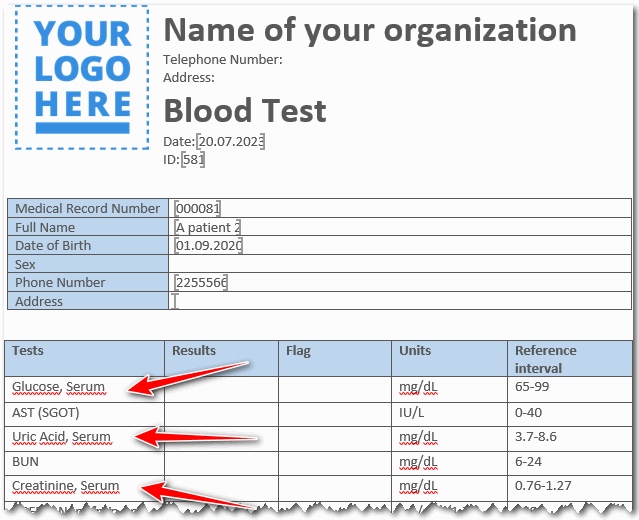
Templates can be created when entering textual research results. They will especially facilitate the work of the doctor when inserting large blocks of text, for example, when filling out a document such as ' Extract from a medical record '. And also in many research forms there may be a point in which it is required to draw conclusions in the ' Doctor's opinion ' field.
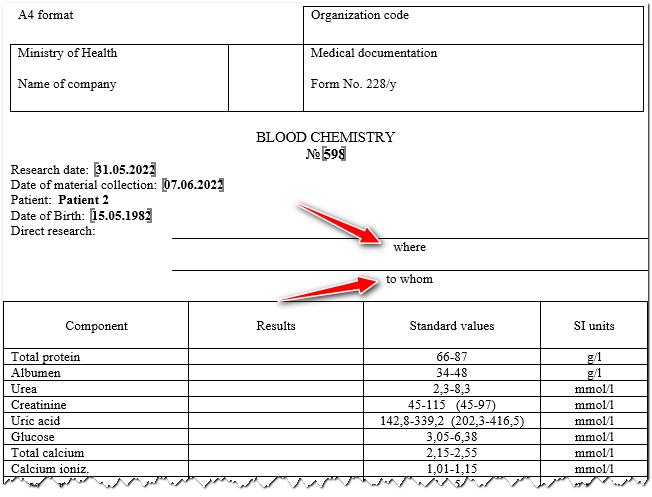
We will make templates from our example to fill in two small fields that indicate ' where ' and ' to whom ' the research result should be sent.

Opening the directory "Forms" . And we choose the form that we will configure.

Then click on Action at the top. "Template customization" .

The already known template setup window will open, in which the file of the ' Microsoft Word ' format will be opened. Notice the top right corner. This is where the list of templates will be located.

Write in the input field ' Where and to whom ' then click on the ' Add top value ' button.

The first item in the list of templates will appear.
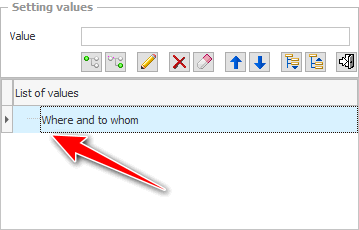
We have added exactly the upper value. It should show exactly which fields the doctor will fill in using the templates that will be included in this paragraph.
Now in the input field, let's write the name of any medical institution to which we can send the results of the research. Next, select the previously added item and press the next button ' Add to selected node '.
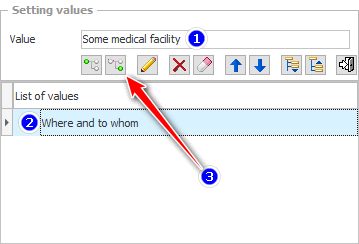
As a result, the new item will be nested within the previous one. The whole uniqueness of the templates lies in the fact that the number of depth levels is not limited.

To speed up the process of setting up templates in the ' USU ' program, you can not press the button on the screen, but immediately add a nested value by pressing the Enter key.
In the same way, only in the paragraph with the name of the medical institution, add two more paragraphs with the names of doctors to whom you can send the results of the research.

That's all, the templates for the example are ready! Next, you have the option to add several more medical facilities, each of which will include its medical workers. At the same time, carefully select the item where you want to add nested nodes.
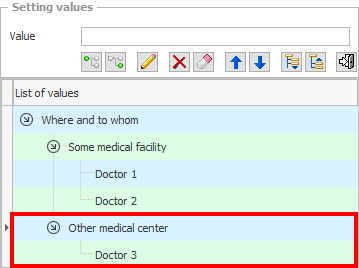
But, even if you make a mistake, this will not be a problem. Because there are buttons for editing and deleting the selected value.
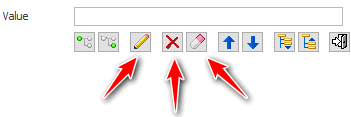
You can clear all the values \u200b\u200bat once with one click in order to start creating templates for this form from the beginning.
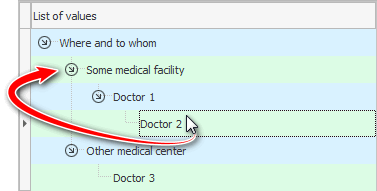
If you have added a nested value to the wrong paragraph. You don't have to go through the lengthy steps of deleting and re-adding to the correct node. There is a much better option. To rebuild the list of blanks, you can simply drag any item to another node with the mouse.
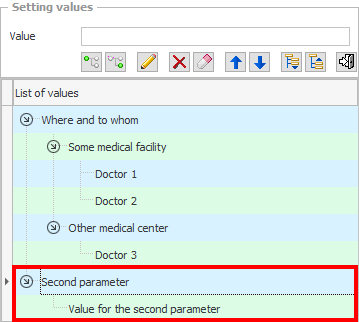
When you've finished preparing the list of templates to populate one parameter, create a second top-level node. It will contain templates for filling in another parameter.
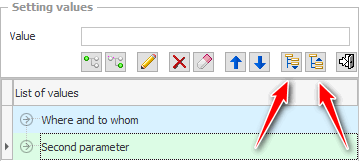
Groups of templates can be collapsed and expanded using special buttons.
Groups and individual items of templates can be swapped by moving them up or down.

When you have finished customizing templates, you can close the current window. The program itself will save all changes.


![]() It is also important to properly prepare each location in the ' Microsoft Word ' file so that the correct values from the templates are inserted correctly.
It is also important to properly prepare each location in the ' Microsoft Word ' file so that the correct values from the templates are inserted correctly.
See below for other helpful topics:
![]()
Universal Accounting System
2010 - 2025