![]() USU
››
Programs for business automation
››
Program for the shop
››
Instructions for the program for the store
››
USU
››
Programs for business automation
››
Program for the shop
››
Instructions for the program for the store
››
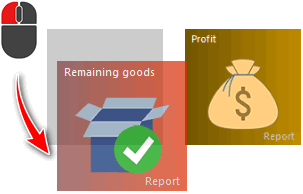
You can customize the quick launch buttons. Now we will talk about this in more detail. In order to swap tiles or drag a tile to another place, you just need to hold it with the left mouse button and drag it across the main screen.
To remove a tile, right-click on it.
In this case, the tile you have selected will be marked with a check mark in the upper right corner.
If you want to select multiple tiles then right click on them too. All of them will be marked with a checkmark, and on the editing panel, the program will tell you how many tiles you have selected.
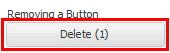
A menu for editing tiles will appear. In it, to delete, select the 'Remove button' item and click 'Delete' .
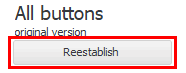
If for some reason you decide to undo all your changes and revert back to the original Quick Launch Tiles configuration, select 'Original Option' from the edit menu. Restore' .
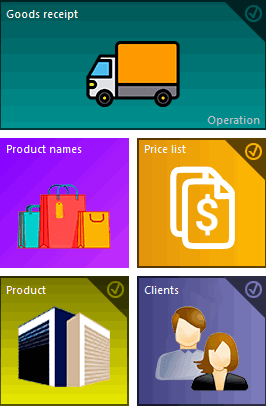
You can add any report or module from the program to the quick launch panel. To do this, you need to open the program tree and find the report or table you need.
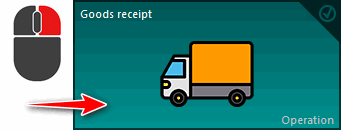
Then hold down the left mouse button and drag to the desired location on the main screen.
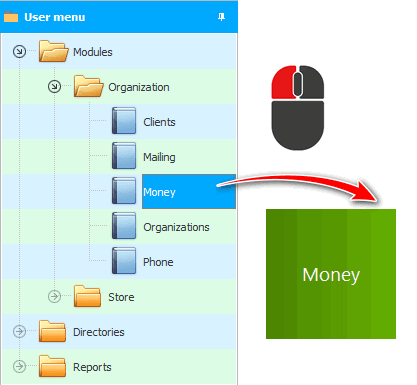
You will immediately open a menu for editing tiles.
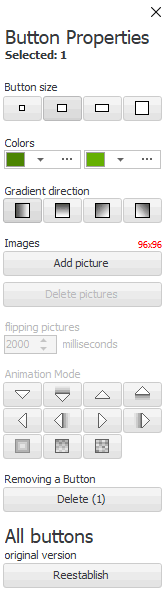
Button size - you choose what size the new tile will be. The size of the picture that can be assigned to this tile also depends on the size.
Colors - you can choose either one or two to then set the transition gradient between them for the background of the tile.
A gradient is used to smoothly transition between the background colors of a tile.
In the 'Add image' option, you can select an image to personalize the panel. The size of the image matters! It should match exactly what is indicated in red font in pixels. After adding one picture, you can add another. Then they will change, creating animation. You can set it up in the next paragraph.
In 'Swipe' you can set the speed at which one picture changes to another, and in 'Animation Mode' you can set how the pictures will change.
To change a tile, right-click on it. A menu for editing tiles will appear.
Properties for editing are described in the paragraph above.
![]()
Universal Accounting System
2010 - 2025
 Download the program with interactive training