
Instructions for the program for logistics
Program settings
Employees and logins
When the program starts, a window appears where we need to enter a username, password and role. Role is the access scheme under which this or that user works, his authority in the database.
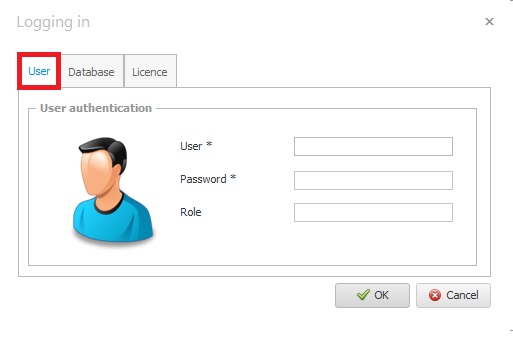
Before entering this data, you must specify the path to the database on the local disk or on the server. This is done on the «Database» tab.

If the database is located on this computer, then tick the box «Database server is on the local computer» and specify the path. If the database is on the server, the checkbox is unchecked and the field «Server name» indicates the name of the server where it is located, as well as the local path to the database on the server.
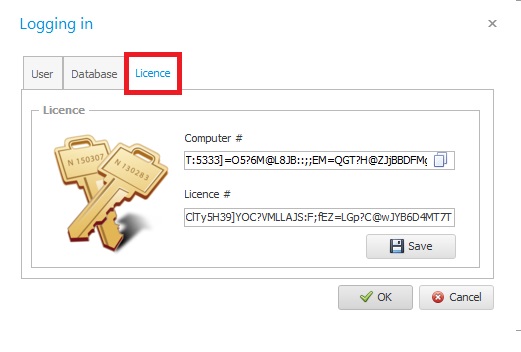
In the tab «License» your computer number and license will be indicated. You will need this tab if in the future you will reinstall the program on another computer, for example. You don't need to change anything here.
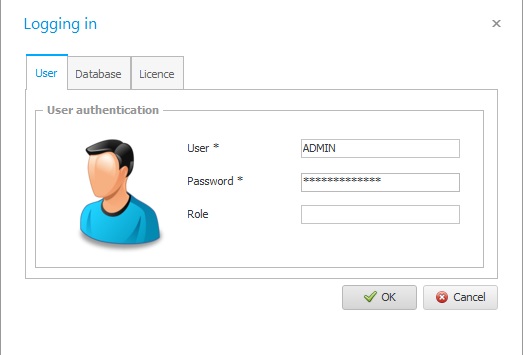
If everything is configured correctly, then we return to the «User» tab. Since we do not have a login yet, we enter the system login «ADMIN» and the system password, which is specified in the contract. We do not specify the role.
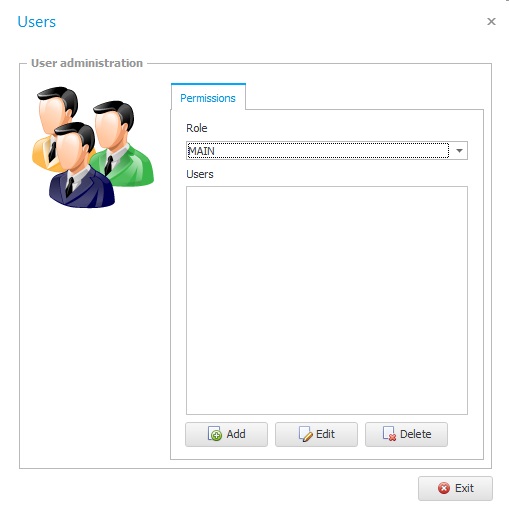
Adding new logins for employees is carried out in the «Users» block:

Having opened the users window, add a new login using the «Add» button:
In the window that opens, enter the login in Latin characters, and any password. The default login will be written in capital letters:
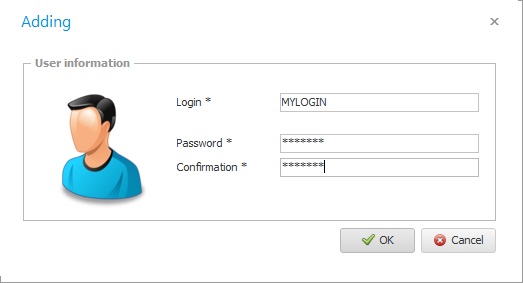
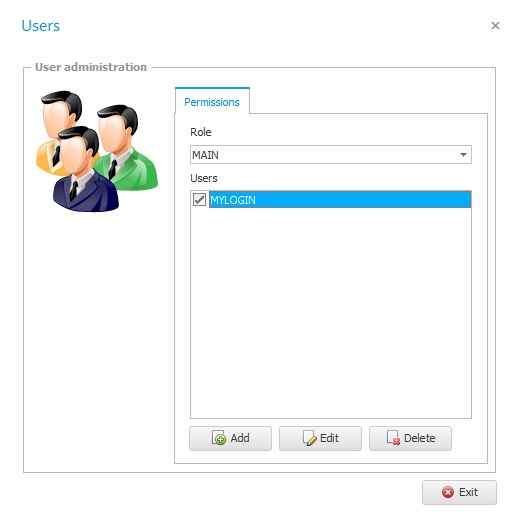
Press the OK button and check the box for the user role. By default, you have one role. In the future, you can select several of them, if you need to differentiate access rights:
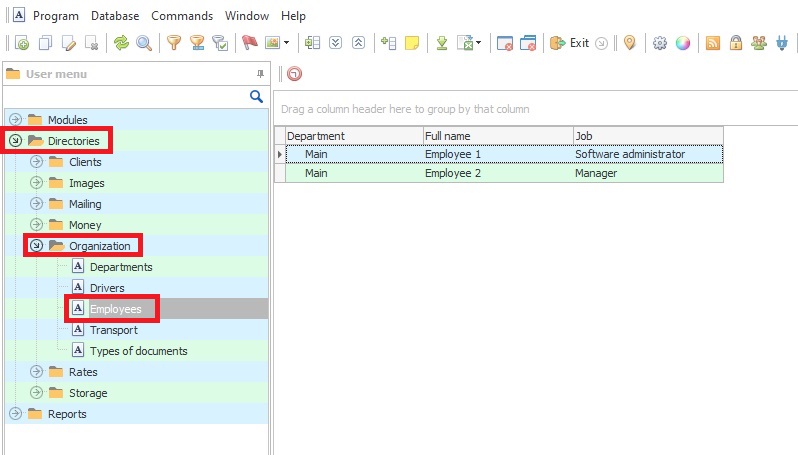
Ready! A new login has been created. Now you can proceed to adding an employee who will work under this login. To do this, go to handbook «Employees»:
We add a new employee. To do this, we will need to fill in at least all the required fields marked with an asterisk:
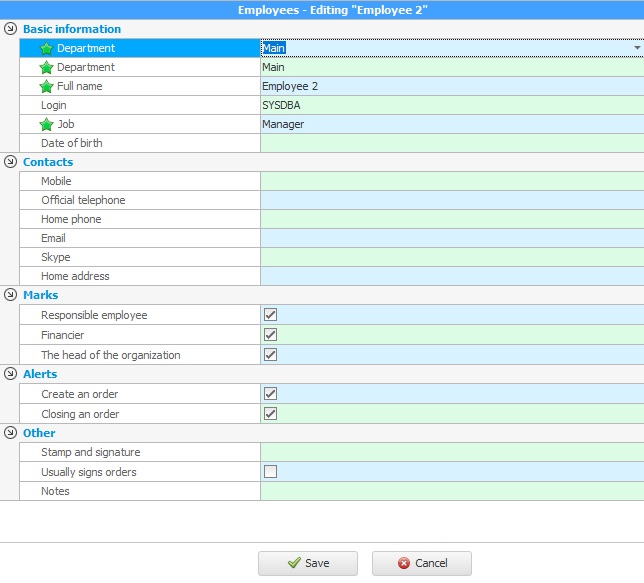
- Department – this is the department to which the employee belongs.
- Login – the login under which the employee will work in the program.
- Position – who this employee works.
- Section Contact information is used to keep track of personal numbers and mail of an employee.
- Marks to denote key positions.
- Notifications – settings for receiving notifications upon events.
- Seal and Signature – to add a graphic file with a seal and signature to set up possible autocomplete of documents.