
Instructions for the program for logistics
Program settings
Departments
Having finished with the settings for the details and logo of your organization, you can proceed to more detailed settings. All information about your business processes in our program is stored in the «Handbook» block:
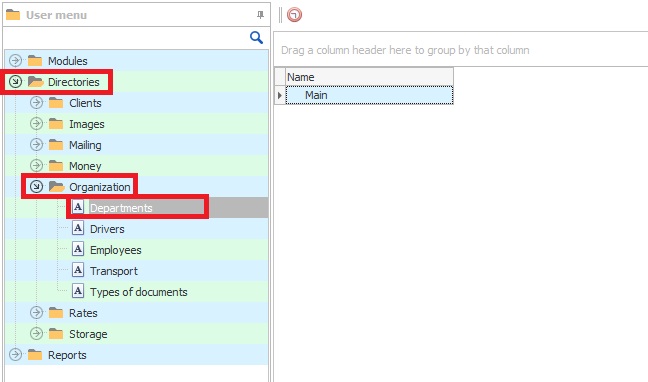
To open a group of handbooks, you need to left-double-click on the group or on the arrow on the left. And to set up your Departments, you need to go to the «Organization» group of directories, double-click the «Departments» directory with the left mouse button:
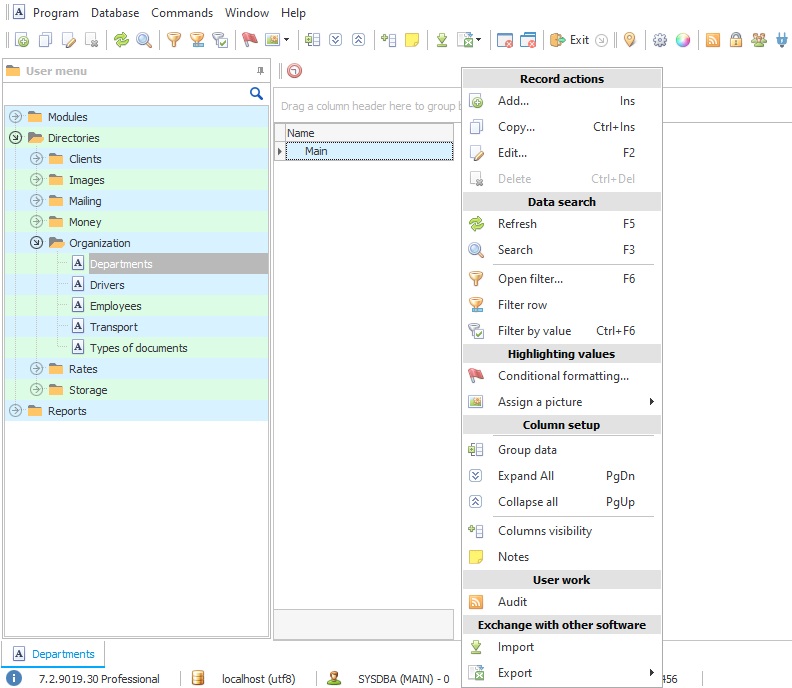
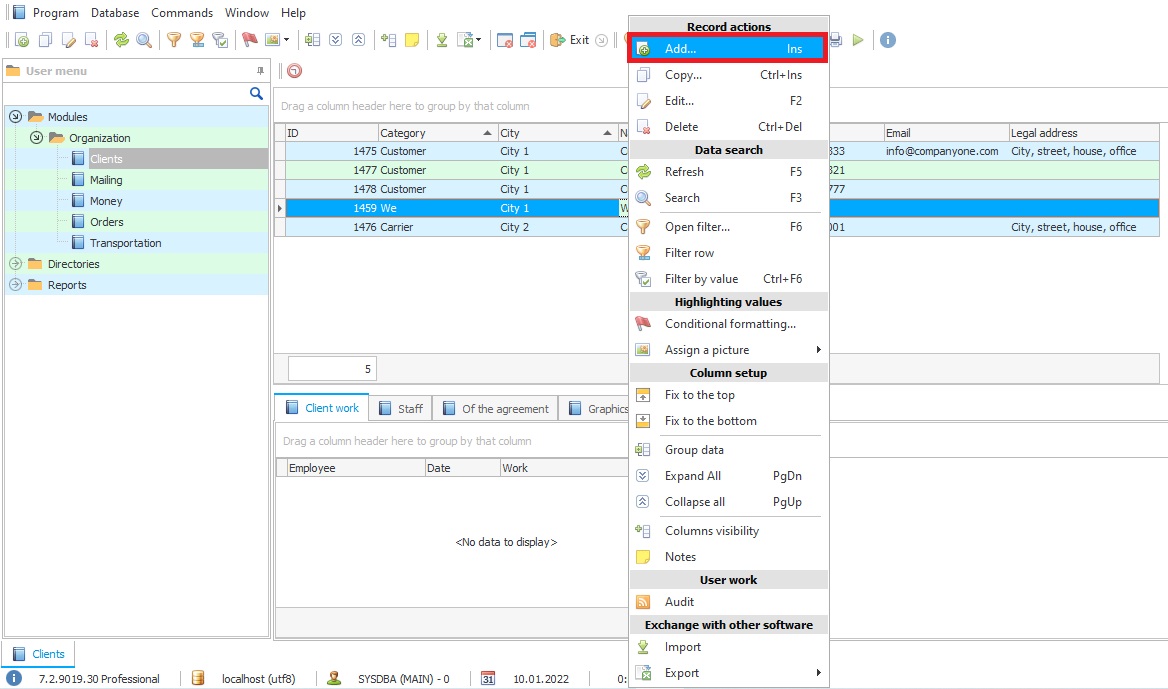
Information is entered into tables by right-clicking anywhere in the table and the add command (point 1.) or using the add command in the upper left corner of the table (point 2.), you can also add information to tables using the Ins or Insert key on your keyboard:
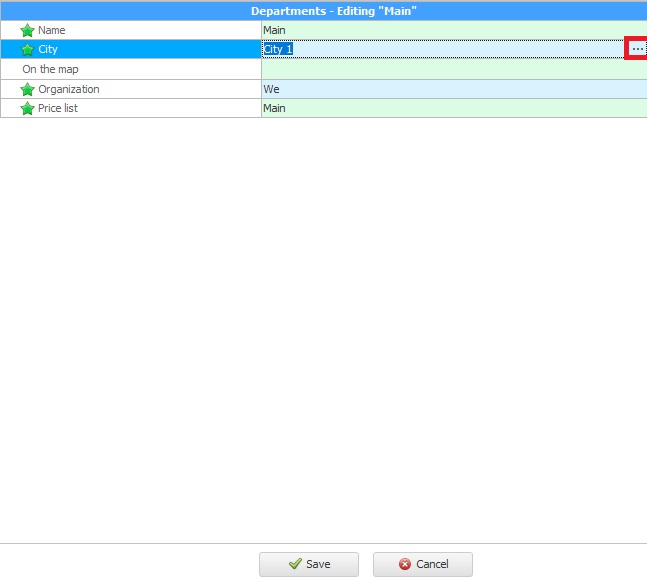
When adding records to tables, required fields are marked with asterisks:
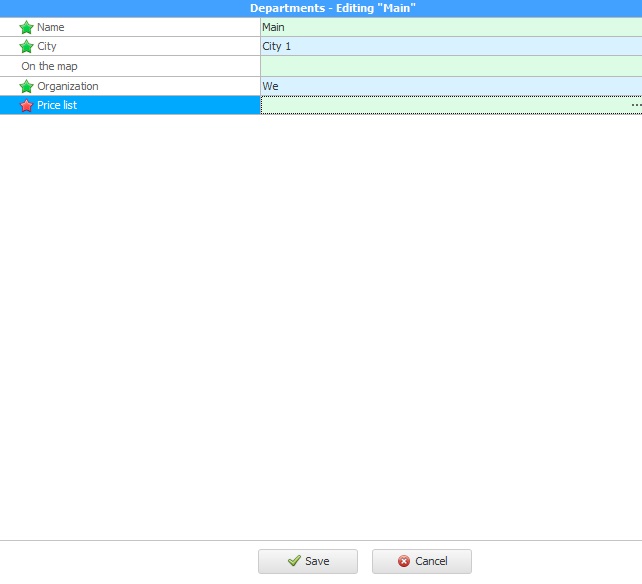
In the name we write the name of the department, the city is selected by a special button with three dots «Select» or by the keyboard shortcut Ctrl+Enter:
When this button is pressed, we go to the «Cities» directory:
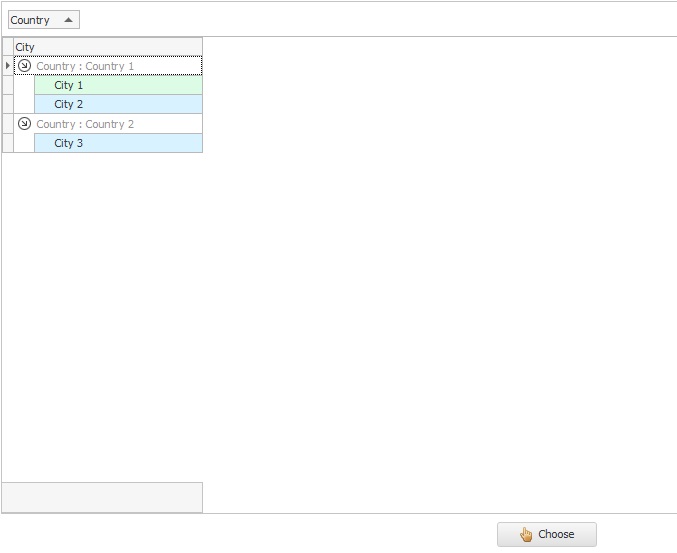
If your city is not in the directory, you can add it according to the same principle as described above, using the command «Add». In the drop-down menu, you can select your country. If your geographic data is not in this list, then you can enter them using the keyboard. We also type the name of the city on the keyboard.

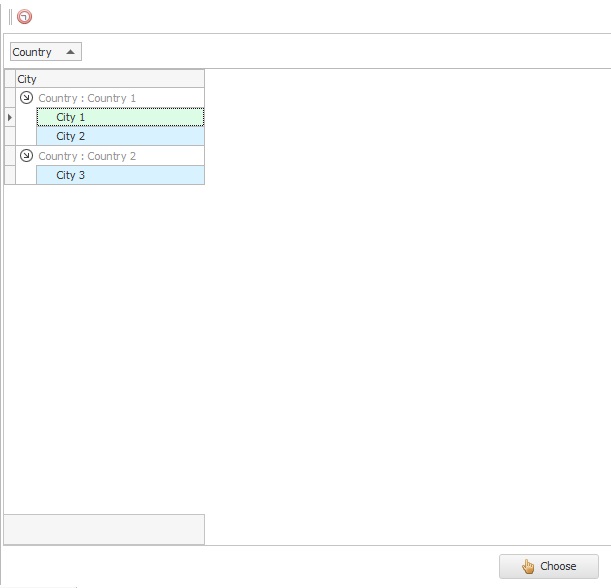
After saving the information, select the desired city and press the «Select» button or the key combination Ctrl+Enter:
Further, we indicate your legal entity associated with the branch:
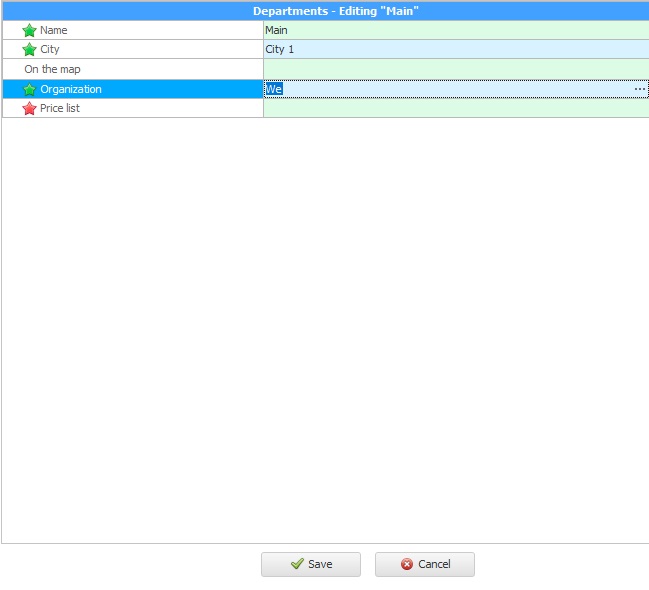
In doing so, we automatically go to the "Counterparties" module. If there is already your legal entity in the "We" category - just choose it:
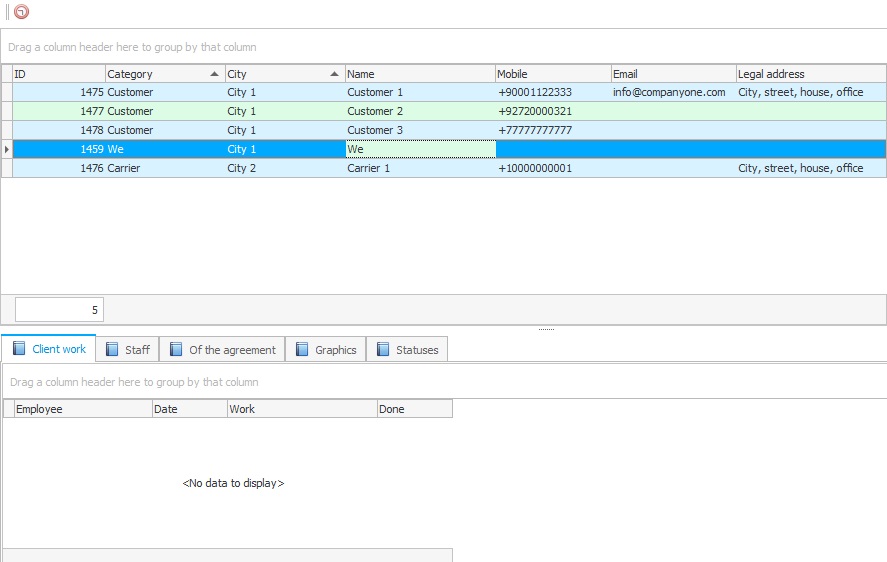
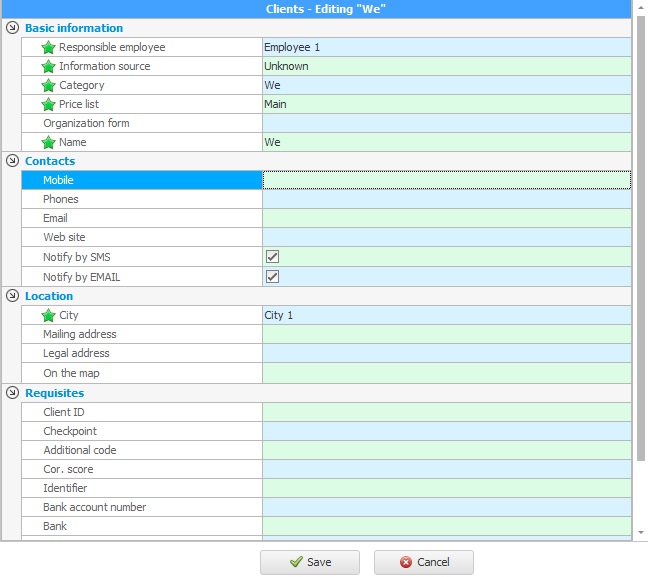
If it is not there, then we add a new one by selecting the category of the counterparty "We":

And filling out the basic information on it:
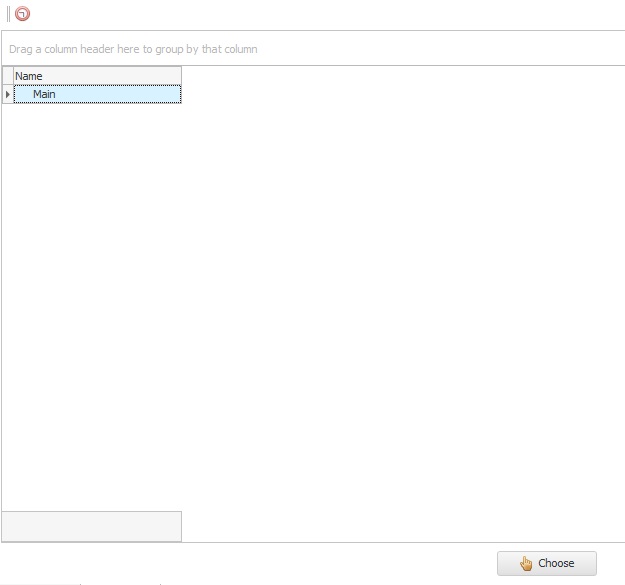
It remains to indicate the desired price list for the department:

You can choose as already existing:
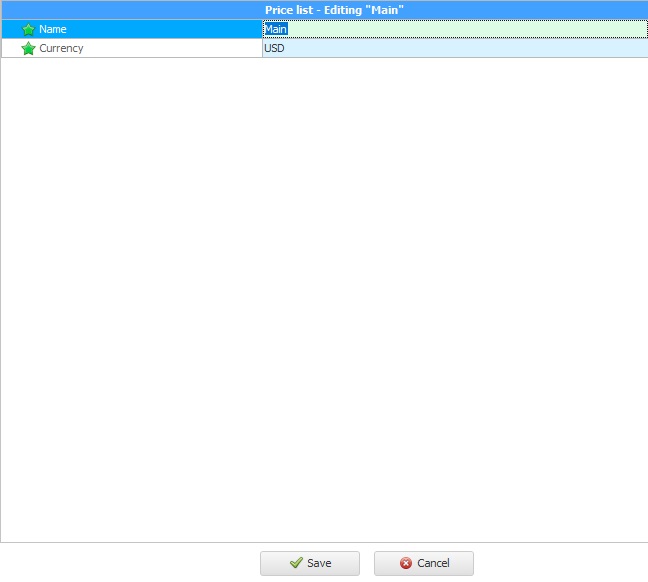
Or add a new one by specifying the currency:
After filling in the information on the department, you must press the «Save» button or the Ctrl+S key combination on the keyboard. Department added!