![]() USU
››
Programs for business automation
››
Program for clinic
››
Instructions for the medical program
››
USU
››
Programs for business automation
››
Program for clinic
››
Instructions for the medical program
››
![]() These features must be ordered separately.
These features must be ordered separately.

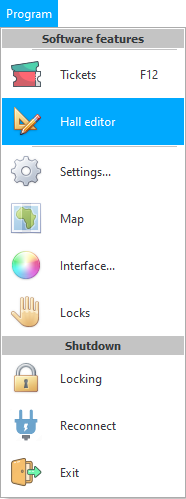
The floor plan is drawn using special software tools. To use infographics , the user first has the opportunity to draw a plan of the premises for which various business processes will be controlled. To do this, click on the menu item ' Editor room '.
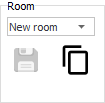
The room editor opens. The room can also be called ' Hall '. The user has the ability to draw each room. All rooms are listed in a separate directory. At the beginning of drawing, select from the list the room for which we are going to draw a schematic plan.
Before us opens a blank sheet of paper, which is called ' canva infographics '. We can start drawing. To do this, only two tools are used ' Area ' and ' Place '.
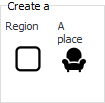
The ' Region ' is just a geometric object and is not linked to information in the database. It can be used, for example, to mark the walls of rooms.
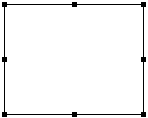
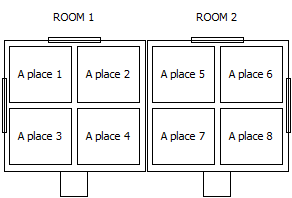
Infographic design builds precisely with the help of areas. For simplicity, we have now shown one room with four walls. In the future, you can draw entire floors and buildings.
' Place ' is already an object that is bound to information in the database. It is the places that will designate some objects that need to be analyzed in the future. For example, let it be our hospital room, in which there is one bed for the patient in the corner.
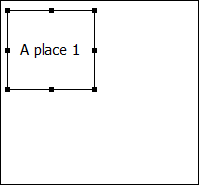
How to make an infographic? Very simple. It is only necessary to place such objects, which are called ' places '. It is required to arrange them as accurately as possible so that the plan of the room is similar to the reproduced room in reality. So that the drawn scheme of the room is immediately clear and recognizable to everyone.
The type of place can be changed using the parameters.
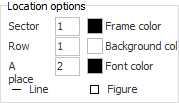
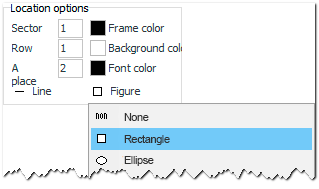
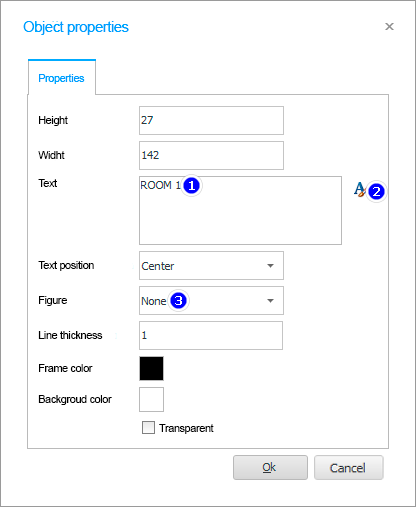
First of all, there is an opportunity to choose the shape of the place. To do this, click on the button next to which there is an inscription ' Shape '.
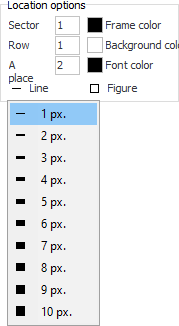
The thickness of the line is chosen in the same way.
It is easy to assign the required color of the line, background and font.
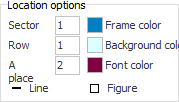
The appearance of the place immediately changes in the process of changing the parameters.

But there is usually no need to change colors, since when displaying an analytical scheme, the colors will be assigned by the program itself. So that the state of each place is immediately clear by the color of the geometric figure. Therefore, now we will return the original colors.

Places can be copied. Even if you need to arrange hundreds of seats in one room, this can be done in a few seconds. Mark that you will duplicate exactly the places, then enter the distance between the places in pixels and at the end specify the number of copies.
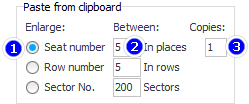
Now you just have to copy any place to the clipboard by selecting it and pressing the standard ' Ctrl + C ' key combination for copying. And then immediately ' Ctrl+V '. The specified number of copies will appear immediately.
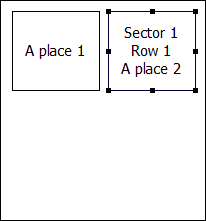
We have created a small room as an example, so we created only one copy. If you enter a large number of copies, it will be more clear how the program will do in a second what would have to be drawn manually for a long time.
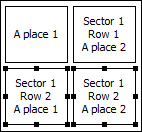
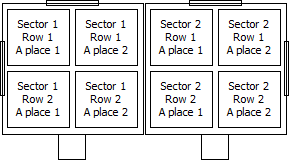
Now that you have new places lined up in a row, you can copy the rows themselves. To do this, we note that we will ' Increase row number ', enter the distance between rows in pixels and indicate the number of new rows that should appear. In our case, only one new row is required.
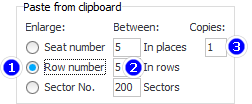
Then we select the entire row of places that we will copy, and also press first ' Ctrl + C ', then - ' Ctrl + V '.

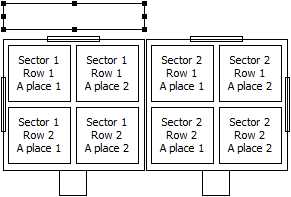
If you grab the black squares along the edges of the figure with the mouse, the figure can be stretched or narrowed.
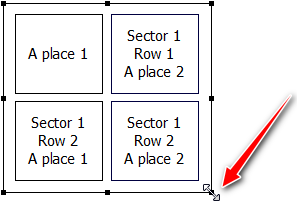
But you can't achieve precision with the mouse, so you can hold down the ' Shift ' key and use the arrows on the keyboard to change the height and width of the shape with pixel precision.
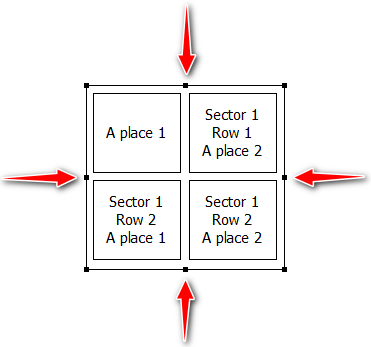
And with the ' Alt ' key pressed, it is possible to move the object with the arrows on the keyboard.
It is with these methods that you can change the size or position of the outer rectangle so that the distance to the inner rectangles becomes the same on all sides.
Infographic Builder has the ability to zoom in to draw the diagram more accurately.
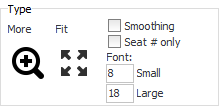
With the ' Fit ' button, you can return the image scale to its original form so that the room layout fits into the screen dimensions.
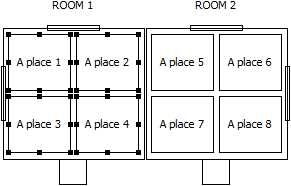
If you have several similar rooms, copy the entire room. Select for copying both areas and places at the same time.
Add for clarity the designation of windows and doors. To do this, use the already familiar tool ' Scope '.
When there are a lot of rooms, it is better to sign them in order to better navigate. To do this, put another area on top.
Now double-click on this area to open a window with an extended list of options. In the dialog box that appears, you have the option to change the title. If necessary, you can still change the font and much more.
The result is a title like this.
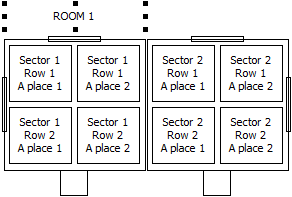
In the same way, you can assign a title to all rooms and places.
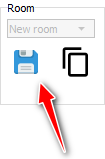
Do not forget to periodically save changes to the created room scheme.
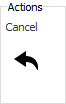
Or undo the last action if you did something wrong.

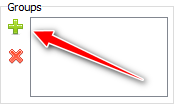
It is possible to combine several places into a group. For this place, you first need to select.
Then click on the ' Add Group ' button.
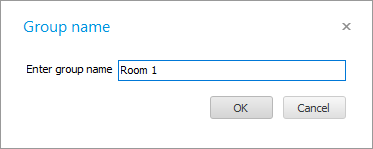
A field for entering the name of the group will appear.
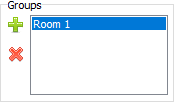
The created group will appear in the list.
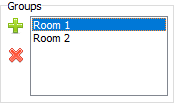
This way you can create any number of groups.
It is necessary to group places in order to be able to use different scenarios for different places in the future. For example, some places may be especially important and they should not be empty in any case. Therefore, they can be highlighted with a color that attracts the user's attention to a greater extent.
It is possible to click on the name of any group.
To see the places that it includes. Such places will immediately stand out.
![]() Next, see how infographics are used .
Next, see how infographics are used .
See below for other helpful topics:
![]()
Universal Accounting System
2010 - 2024
 Download the program with interactive training