![]() USU
››
Programs for business automation
››
Program for clinic
››
Instructions for the medical program
››
USU
››
Programs for business automation
››
Program for clinic
››
Instructions for the medical program
››

![]() These features must be ordered separately.
These features must be ordered separately.
For the ' Universal Accounting System ' program, you can order an electronic document management module. Electronic document management allows you to speed up and simplify the work with documents in your organization. The manager and responsible persons will immediately see all the necessary information on any documents.
We offer two configurations for workflow. The first is paperwork. It can track many different options at the same time. For example, references for personnel and the relevance of contracts for counterparties.
There is also a supply account. It is used for the purchase of goods and allows you to speed up the approval process of all purchase requests.
In both cases, the documents will have to go through various employees of the organization. The order and the employees themselves are filled in a special directory ' Processes '.
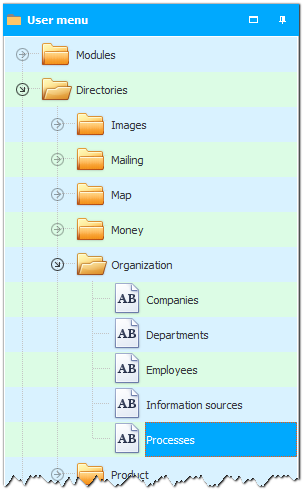
Let's open this guide. In the top module, you can see the name of the business process, and below - the stages that this business process must go through.
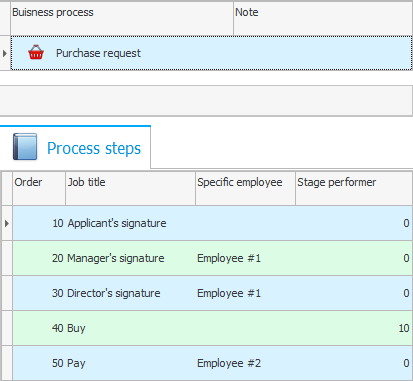
In this example, we see that the ' purchase requisition ' will be signed by the employee, then it will go to the signature of the manager and director. In our case, this is the same person. After that, the supplier will order the necessary resources and transfer information to the accountant for payment.

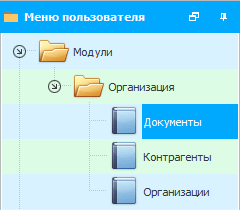
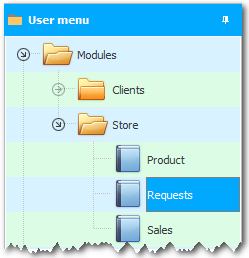
For electronic document management, this is the main module. Go to ' Modules ' - ' Organization ' - ' Documents '.
In the top module we see all available documents. If you need to search for a specific record, you can use filters.
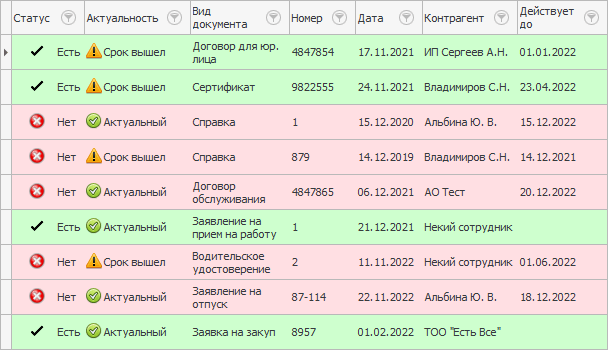
The columns contain a lot of useful information. For example, the availability of a document, its relevance, type of document, date and number, counterparty for which this document is issued, until what date the document is valid. You can also add other fields using the ' Column Visibility ' button.
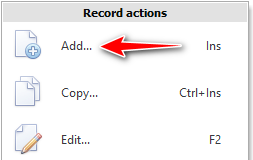
Let's create a new document. To do this, right-click anywhere in the module and select ' Add '.
The Add New Document window will appear.
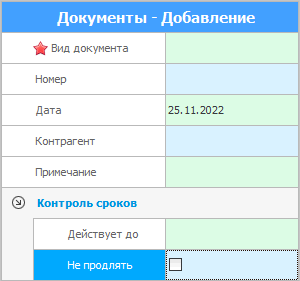
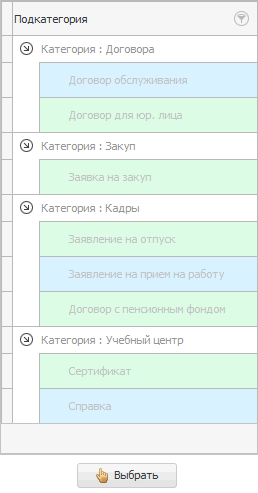
Let's imagine that we need to make an application for leave from an employee. Select ' Document View ' by clicking on the button with three dots. This will take us to another module where we can select the required document type. After selection, press the special button ' Select ', located at the bottom of the list. You can also simply double-click on the desired line.
After selection, the program automatically returns us to the previous window. Now fill in the rest of the fields - the document number and the desired counterparty. If necessary, you can also fill in the ' Time control ' block.

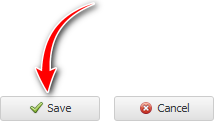
After that, press the ' Save ' button:
There is a new entry in the module - our new document.

Now let's look down and we'll see the submodules window.
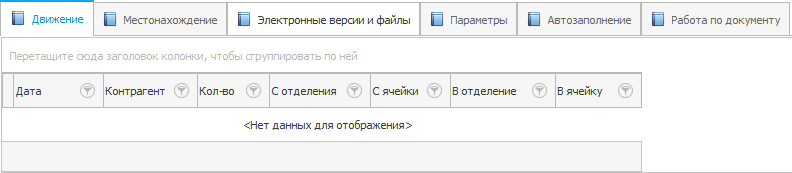
Let's look at each of the submodules in more detail.
' Movement ' allows you to specify the movement of the document - in which department and cell it arrived. To do this, you need to add an entry through the context menu.
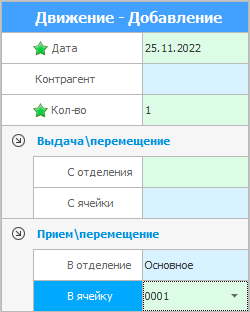
Today's date will be filled in automatically. In the ' Counterparty ' item, it is indicated who delivers or picks up the document. You can also specify the quantity, for example, if you are renting several copies at once. The ' Issue/Movement ' and ' Reception/Movement ' blocks are responsible for issuing and receiving the document to the department. The corresponding items in the table also indicate in which department the document was accepted and in which cell it was placed. Let's indicate that our document arrived in the ' Main Department ' in cell ' #001 ' and press the ' Save ' button.

Immediately after that, we will see that the status of our document has changed. The document entered the cell and now it is available. Also, the status will change if you upload an electronic copy of the document to the program, but more on that later.
Now let's take a look at the second submodule - ' Location ':
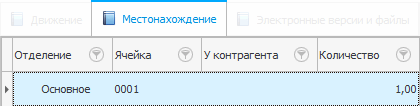
This will display where the physical copies of the document are located. In this case, we have one accepted copy and it is located in the main compartment, in cell #001. If we issue a document to a counterparty, then the location status will change and will point to it. You cannot enter data into this table by hand, they will appear here automatically.
Let's go to the next tab ' Electronic versions and files ':
You can add an entry about the electronic version of the document to this table. This is done using the already known context menu and the ' Add ' button.
Fill in the information in the table that appears. In ' Document Type ', for example, this could be an Excel attachment, or jpg or pdf format. The file itself is indicated below using the download button. You can also specify a link to its location on a computer or on a local network.
Let's go to the ' Parameters ' tab.
In ' Parameters ' there is a list of phrases that you want to enter into the program, then these phrases will automatically be placed in the template in the right places. The action itself is executed by the ' Fill ' button located at the top.
The ' Autocomplete ' tab displays which phrases were last entered using the action above.
The tab ' Works on the document ' displays the list of planned and completed works on the selected document. You can add a new job or edit an existing job using the context menu.

Let's say your worker has requested certain items from a supplier, but they are out of stock. In this case, the employee creates a request for the purchase of the necessary things.
Let's go to the ' Applications ' module.
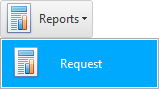
First you need to create a new entry. To do this, we will use the action ' Create a request '.
Also, the data about the applicant and the current date will be automatically substituted into it.

Select the entry that appears and go to the bottom submodule ' Order Contents '.
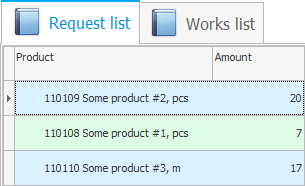
An item has already been added to the list, the quantity of which in the warehouse is less than the specified minimum. If necessary, you can change this list by the number and name of items. To change, use the context menu by right-clicking on the item and select ' Edit '.
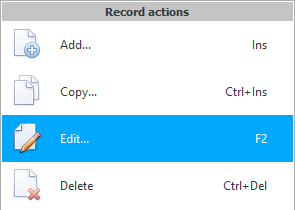
To add a new entry, select ' Add '.
After everything you need is added, select the tab ' Work on request '.
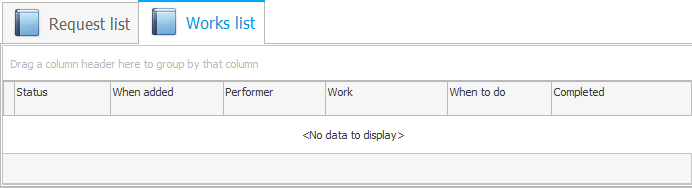
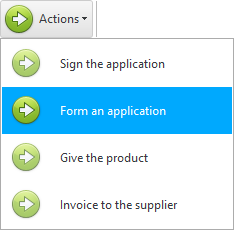
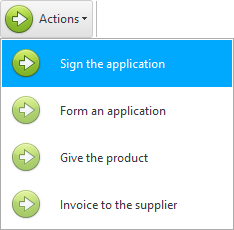
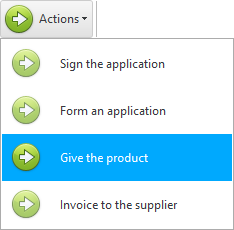
All planned and completed work on the document will be presented here. Now it is empty, because the work has not yet been carried out. Sign the ticket by clicking on the ' Actions ' button and selecting ' Sign ticket '.
The first entry has appeared, which has the status ' In progress '.

We also see a description of the work to be done, due date , contractor , and other useful information. If you double-click on this entry, the editing window will open.
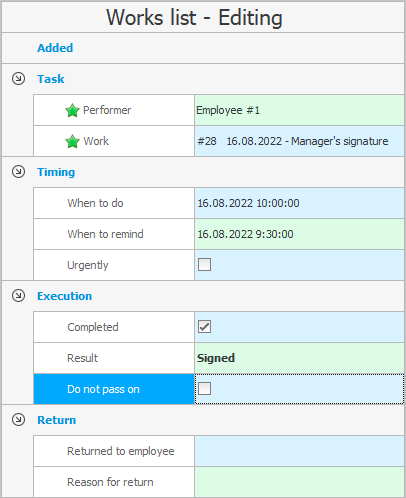
In this window, you can change the above items, as well as mark the completion of the task, simultaneously writing down the result , or mark its urgency . In case of any errors, you can return the work on the application for one of the employees, for example, in order for the supplier to change the list of goods or look for lower prices, which can be indicated in the reason.
Let's, for example, complete this work by checking the ' Done ' checkbox and entering ' Result ', and then clicking on the ' Save ' button.
Now we can see that this work has received the status ' Completed '.

Below is a second entry that has a different ' performer ' - the director. Let's open it.
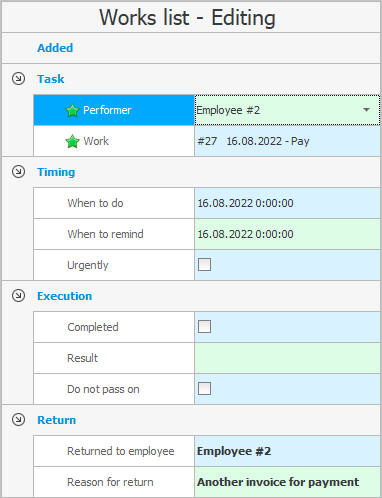
Let's set this work ' return to the employee - Supplier. In ' reason for return ' we write that the document, for example, has an incorrect account for payment.
Let's save the record again.

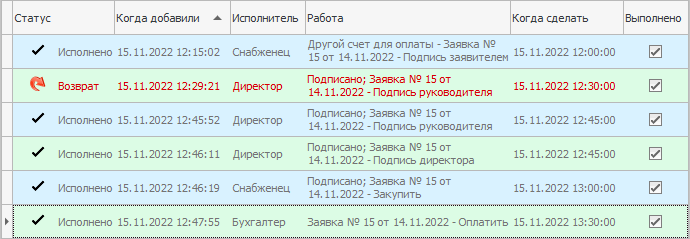
Now we can see that the document has returned back to the Procurer, and the Director's job status is ' Returned ' and the Procurement's is ' In Progress '. Now, in order for the document to get back to the director, the supplier needs to correct all the errors. After the document goes through all the steps, it will look like this:
Now you can generate an invoice to the supplier. This is done using the ' Vendor invoice ' action.

The order status will then change to ' Awaiting Delivery '.

After the ordered items are received, they can be transferred to the customer. To do this, use the action ' Issue goods '.
The status of the ticket will change again, this time to ' Completed '.

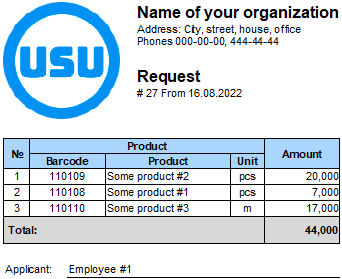
The application itself can be printed, if necessary, using the report button.
The printed application looks like this:
See below for other helpful topics:
![]()
Universal Accounting System
2010 - 2024
 Download the program with interactive training